Build a Raingarden in just one day!
Build one for a school, community group, in your neighbourhood or simply in your garden. Raingardens help to reduce flooding, are beautiful and can attract wildlife.
About Raingardens
Raingardens are slightly sunken planting beds which have rainwater directed into them. They store the water allowing it to water the plants, soak into the ground and stop it contributing to flooding.
How to build a raingarden
step 1 : choose a location

Pick a place where you can get water from a roof or driveway to your raingarden and where, if it overflows, the water can return to the surface water sewer or a natural watercourse and not into your house or a neighbour's property.
The location should have enough space for your raingarden and you may want to think about how the raingarden will affect the design and functionality of your existing garden.
Authorities in the US recommend that rain gardens are situated at least 3m (10 feet) from any building and if your property is situated in an area with chalk or other material that could be adversely affected by localised increases in the flow of ground water you should contact your local authority Building Control Officer for advice.
step 2 : work out how easily water soaks into your ground

Dig a hole around 500-600mm square and around 250-300mm deep. Make a note of how deep it is.
Have a few buckets or containers with cold water in then fill the hole in one go.
Wait for the water to soak away.
Fill the hole again in one go and then time how long the water takes to soak away - it could take minutes and often hours.
Divide the depth (in mm) of water when you filled it by the number of hours it took to drain down to find your infiltration rate. For example 300mm depth of water draining down in 2.5 hours = 120mm per hour infiltration (300 ÷ 2.5 = 120).
If your garden infiltrates at a rate of 50mm per hour or more, it is ideal for a raingarden.
Slower than 50mm per hour? You can still build a raingarden but you may want to include a device to allow it to drain down slowly so that you don't have a 'bog garden'!
step 3 : work out how much roof or surface you are collecting water from

Work out which downpipes you can disconnect and divert or which areas of hard surfacing you can direct to your proposed raingarden location.
Roughly work out how many square metres each roof or hard surface you can connect to the raingarden is. Do this by measuring how wide and long the roof or area is in plan (not measuring the diagonal length of the roof) and multiply them together. You can measure this on the ground - no need to climb up on the roof! For example, one slope of a typical terrace roof may be around 5m x 6m. Therefore the roof area is 30m² (5 x 6 = 30).
step 4 : work out the size of your raingarden
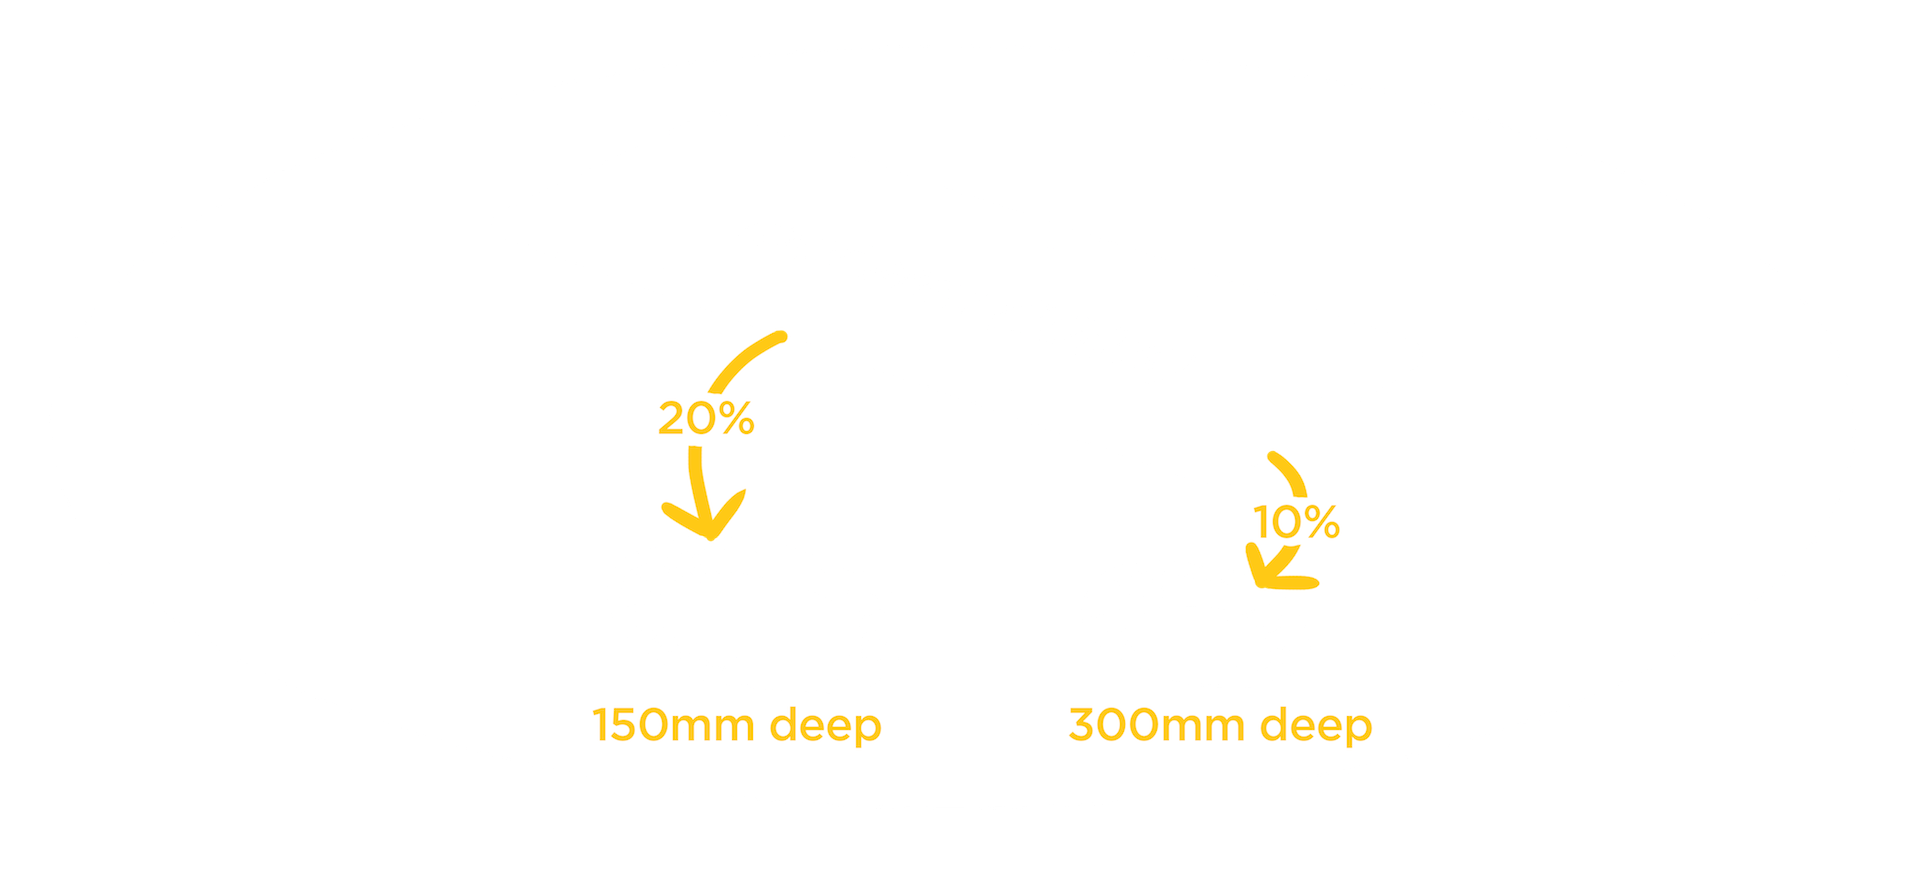
The ideal size for your raingarden will depend upon how deep you want it to be :
A 150mm deep raingarden would ideally be around 20% of the area of the roof or hard surface feeding it. For our 30m² roof example earlier, this would be 6m² (or around 3m long and 2m wide).
A 300mm deep raingarden would be around 10% of the area of the surface feeding it - 3m² for our example roof.
There is no harm in your raingarden being bigger if you have the space - it will work even harder to reduce flooding - and if you don't have enough space to achieve the recommended area for you roof or hard surface, don't let it put you off as anything is better than nothing!
step 5 : design your raingarden
Now you know how big it needs to be you can decide on the overall shape and character of your Raingarden and the types of plants you would like to grow in it. Raingardens are actually dry much of the time and so most garden plants are suitable - we recommend not using silver-leaved plants as these tend not to like being soaked for periods of time.
A Raingarden can be dug into the ground or formed in a raised bed - or somewhere between the two. Having a slightly raised raingarden can reduce the amount of digging you need to do and can make overflowing back to the sewer easier because you have some height to make the water flow downhill to where you want it.
You can use a pipe or surface channel to take overflow from the Raingarden to a stream or the surface water sewer - the easiest might be back to where the rainwater pipe used to run underground or to a nearby yard gully.
If you had an infiltration rate below 50mm per hour it is advisable to think about a way of allowing the Raingarden to drain down slowly. A pipe with a cap on the end, with a 15mm hole drilled in the cap, buried in the base of the raingarden with gravel protecting the hole from blocking and the other end connected back to the surface water sewer or to a stream will do this and still help reduce flooding.
step 6 : mark out and build your raingarden
Once you have determined the location, size and shape of your rain garden, measure and mark the outline on the ground with rope or hose, or if it has straight sides, with pegs and string.
The top edge needs to be level all round, except where you want it to overflow.
We love to celebrate your achievements, so if you've built a 24 hour raingarden, send us your pictures, video and a short blow by blow account of your mission!
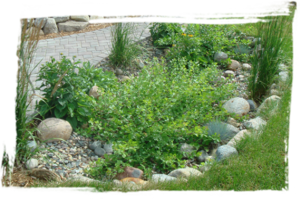
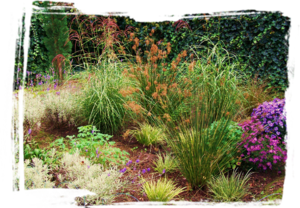
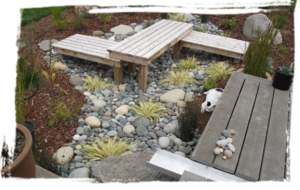
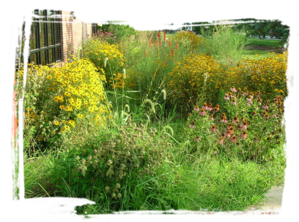
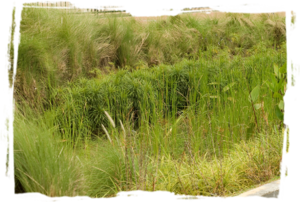
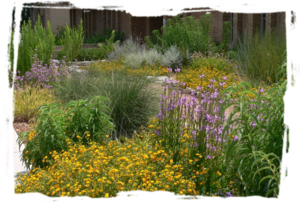
Here's some choice examples of raingardens to give you inspiration
Why not do a 24 hour raingarden for charity?
You could build a raingarden just for fun in your own garden and feel great about helping to reduce flooding, but you could also get a group of friends or colleagues together and build one for a school, community group or other worthy cause. AND you could also use the challenge of endurance, wit and spadesmanship to raise money for a charity. One that springs to mind as being in the theme and a poignant reminder of how lucky we are to have so much rain and sanitation in our country is WaterAid.